How to do indoor photography
1. Gear You’ll Need
Camera: DSLR, mirrorless, or even a good phone.
Lens: Wide aperture lens (like 50mm f/1.8) works great indoors.
Tripod (optional but helpful)
Lighting: Natural window light, LED panels, or softboxes.
Reflectors: To bounce light and reduce shadows.
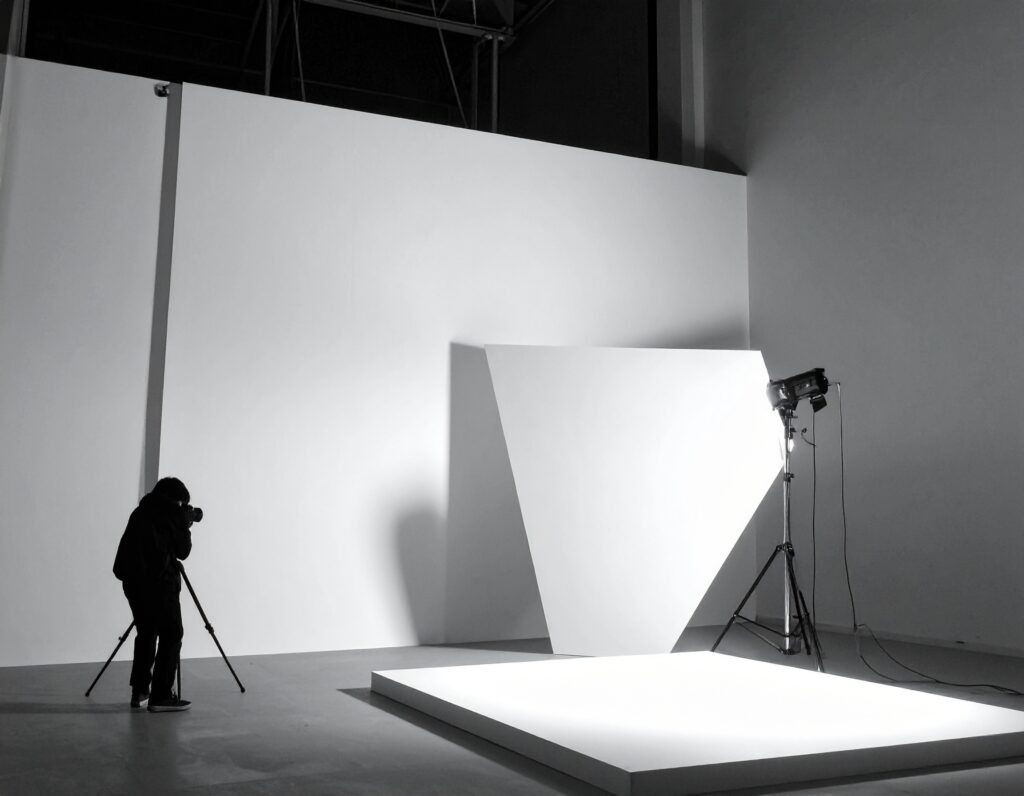
2. Lighting Setup
Use Natural Light: Shoot near a window for soft light. Avoid direct sunlight (creates harsh shadows).
Artificial Lights: Use soft diffused lights (COB, RGB, ring light, or softbox).
Avoid Overhead Lights: They cast unflattering shadows.
Use Reflectors: White boards, walls, or silver reflectors can bounce light.
3. Composition Tips
Use the rule of thirds to place your subject.
Keep the background clean and clutter-free.
Frame your subject using windows, doorways, or furniture.
Experiment with angles – shoot from high, low, or side.
4. Camera Settings
ISO: Start at 100–400; increase if light is low.
Aperture: Wide (f/1.8 – f/2.8) for blurry background.
Shutter Speed: 1/60s or faster for handheld. Use tripod if slower.
White Balance: Set manually based on your light source.
Focus: Use single-point AF for precision.
5. Creative Techniques
Use props: books, plants, curtains, or lights.
Play with shadows and silhouettes.
Try bokeh effects using fairy lights in background.
Shoot in RAW for better post-processing control.
6. Post-Processing
Use apps like Lightroom, Snapseed, or Photoshop.
Adjust exposure, contrast, shadows, and white balance.
Enhance color tones and sharpen your subject.
Remove distractions or crop as needed.
Bonus Tips
Turn off all other room lights if using window light only.
Use manual mode to control exposure fully.
Experiment with different light directions – front, side, or backlighting.
How to do indoor Videography
✅ How to Do Indoor Videography – Step-by-Step Guide
Indoor videography is all about controlling light, clean visuals, and good audio. Here’s how to do it right:
1. Know Your Purpose
Ask:
What are you filming? (Interview, product, vlog, tutorial, ad)
Who is your audience?
What platform? (YouTube, Instagram, TV)
This affects the style, length, and technical needs.
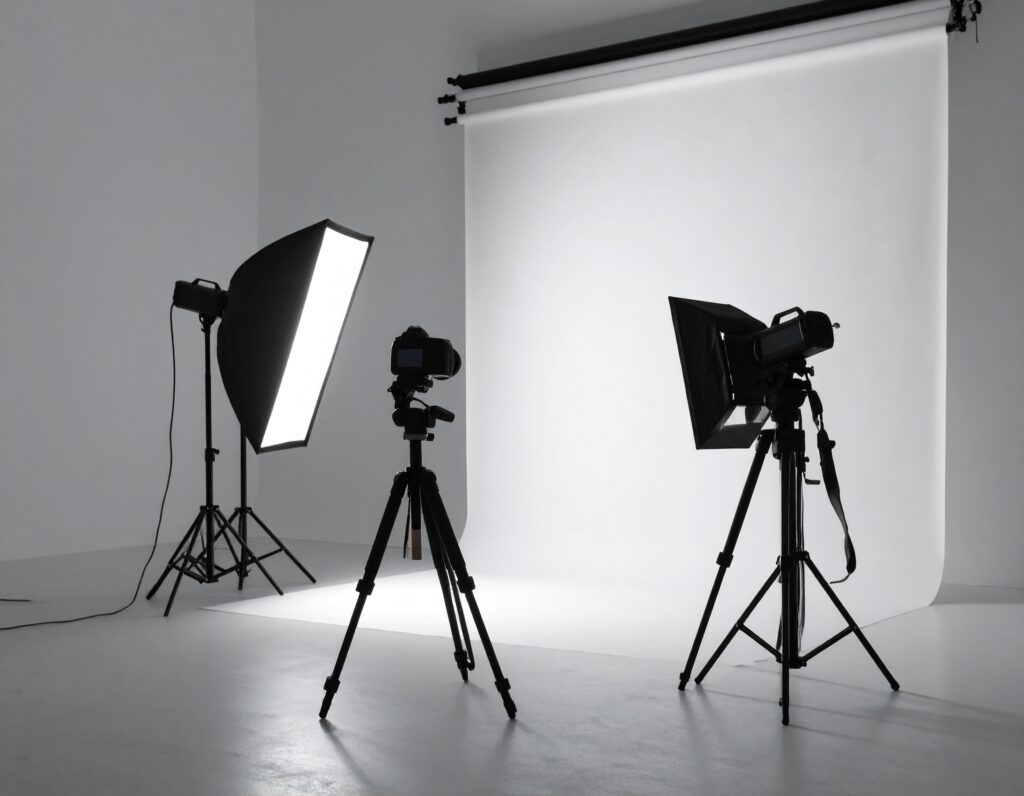
🎥 2. Choose the Right Gear
Essential Equipment:
Camera: DSLR, mirrorless, or phone with good video quality
Lenses: Wide aperture lens (f/1.8–2.8) for low light and depth
Tripod or Gimbal: For steady shots
Lights: COB lights, LED panels, softboxes, or ring lights
Mic: Lavalier (clip-on), shotgun, or condenser mic for clear audio
💡 3. Light the Scene Properly
Lighting is critical indoors!
Lighting Tips:
Use soft, diffused light (avoid harsh shadows)
Position your key light at a 45° angle to the subject
Add fill light or reflector on the opposite side
Use a backlight or rim light for separation
Mix natural window light with artificial only if color temperatures match
4. Set Up the Camera Correctly
🔧 Basic Settings:
Frame rate: 24 fps (cinematic), 30 fps (online), 60 fps (slow motion)
Shutter speed: Double your frame rate (e.g., 1/50s for 24fps)
ISO: Keep it low (100–800) to avoid grain
Aperture: Wide (f/1.8 – f/2.8) for shallow depth of field
White balance: Set manually based on lighting (daylight, tungsten, etc.)
Use manual focus for interviews or product shots.
5. Capture Clean Audio
Record in a quiet space
Use external mics—never rely on camera mic
Monitor with headphones if possible
Record room tone (10 seconds of silence) for editing
6. Frame and Compose Your Shots
Use the rule of thirds
Keep eye level consistent
Leave headroom and lead room
Watch for distracting backgrounds or reflections
Use depth (foreground/background layering) for visual interest
7. Film Extra B-Roll
Capture extra shots that support your story:
Cutaways of hands, environment, objects, expressions
Helps with transitions, pacing, and covering cuts
8. Edit Your Video
Use software like Premiere Pro, Final Cut, DaVinci Resolve, or CapCut
Trim excess footage
Add titles, transitions, music, color correction
Sync audio/video if recorded separately
Add subtitles for social platforms
9. Export and Deliver
Export in 1080p or 4K, MP4 format
Match aspect ratio to platform:
16:9 for YouTube
9:16 for Instagram Reels, TikTok
1:1 for Facebook
Bonus Tips
Use ND filters if mixing bright window light
Control the environment: switch off fans, AC noise, etc.
Keep background minimal and branded
Practice storytelling – not just visuals